
This tutorial is a delightful and simple project for children to construct a dinosaur using leaves! With straightforward instructions and clear visuals, young creators can assemble a distinctive piece that promises to keep them engaged and smiling.
Welcome to this detailed guide on creating an animal craft: a do it yourself dinosaur made from leaves. This project is both uncomplicated and enjoyable, especially for children. Animals captivate our imaginations, particularly when thinking of dinosaurs.
This specific animal craft will help kids understand more about dinosaurs, their form, and their shape. Utilizing organic elements for this activity makes this DIY dinosaur craft truly special for the kids involved.
Craft a Delightful Leaf Dinosaur!
Supplies You Will Need
- Paper sheets
- Assorted colored leaves
- Adhesive
- Cutting tool
- Dark and pale markers
Instructions
Step 1: Get a Blank Sheet
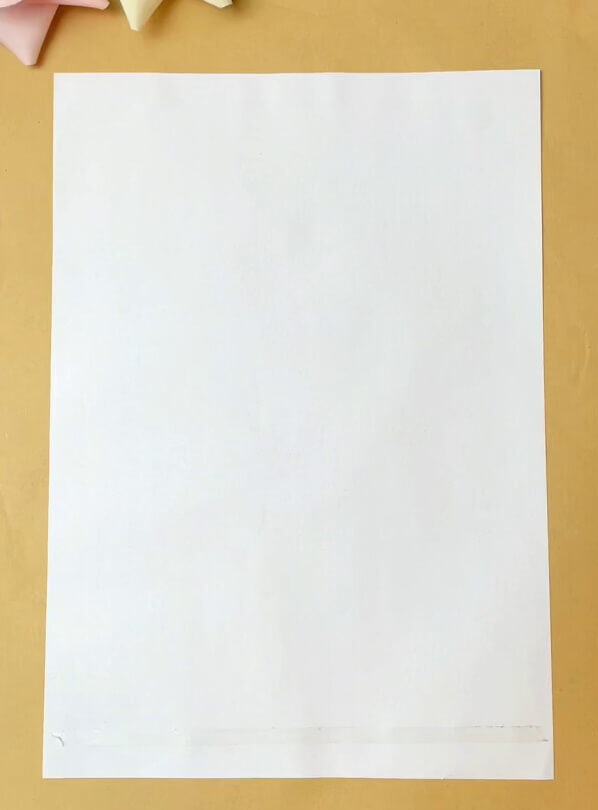
Take a pristine piece of paper; this is where the leaf dinosaur project begins.
Step 2: Attaching Greenery
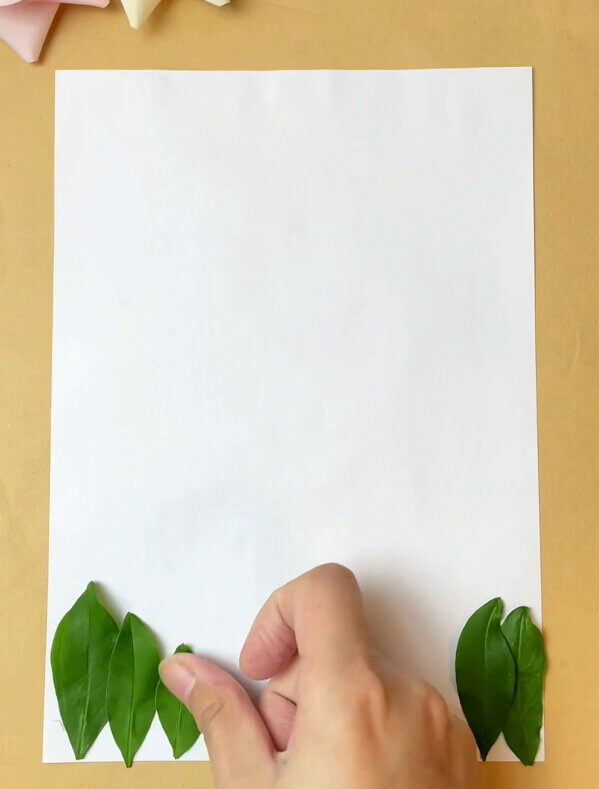
Place various sized green leaves on the paper’s lower section to simulate a verdant ground. This forms the foundation for the craft.
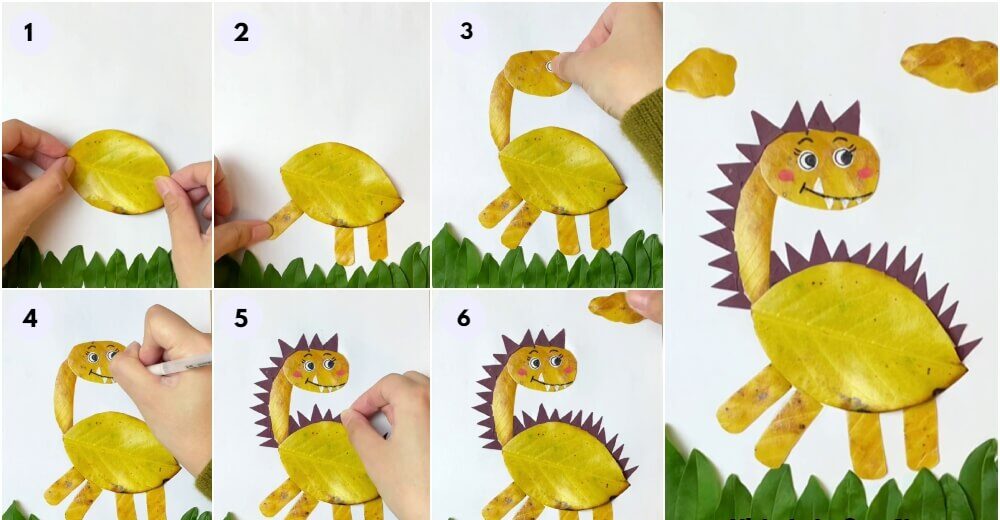
Step 3: Forming the Dinosaur’s Body

Select a golden leaf to serve as the dinosaur’s torso and secure it in the central area with glue.
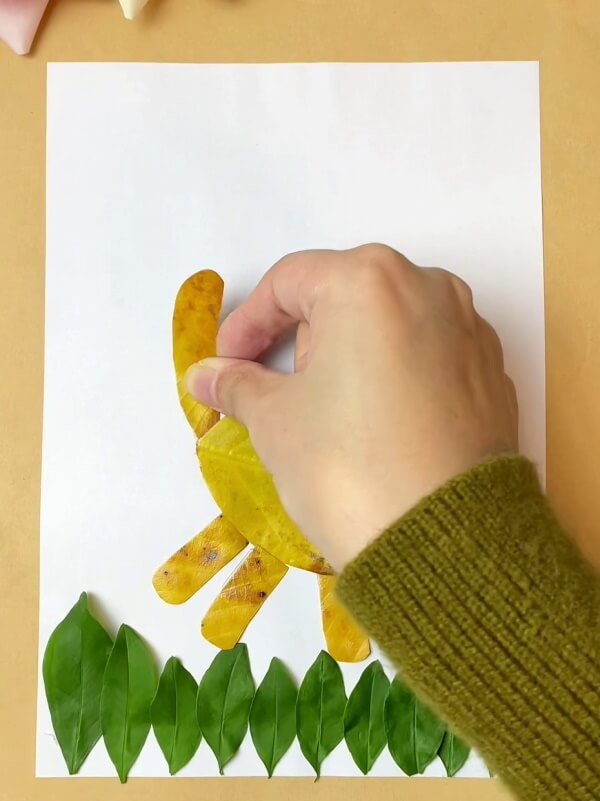
Step 4: Crafting the Dinosaur’s Legs
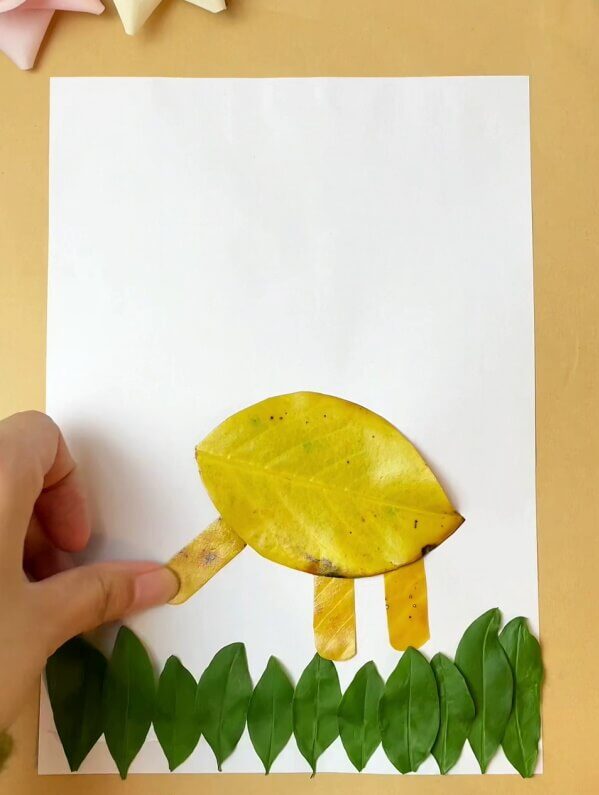
Shape another golden leaf into cylindrical forms to create the dinosaur’s legs. Attach these leg pieces one after another, as illustrated in the image.
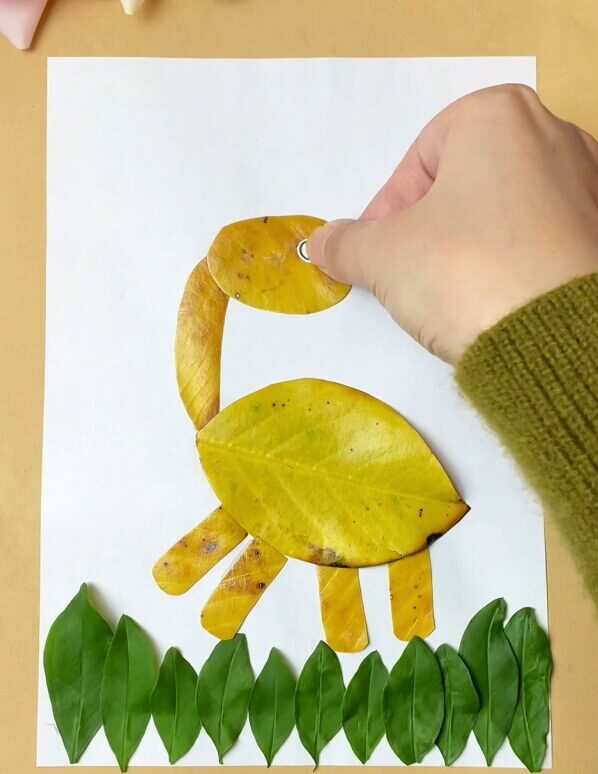
Step 5: Making the Dinosaur’s Neck
Fashion an elongated neck shape from another golden leaf. Position and attach this neck to the left side, extending from the body’s edge. The dinosaur’s neck is now complete.
Step 6: Giving the Dinosaur a Face
Cut another yellow leaf into a rough circular shape for the dinosaur’s head. Affix two small, round white paper pieces to form the dinosaur’s eyes. Outline these eyes with a dark pen to make them appear lifelike.
Step 7: Finalizing the Dinosaur’s Facial Details
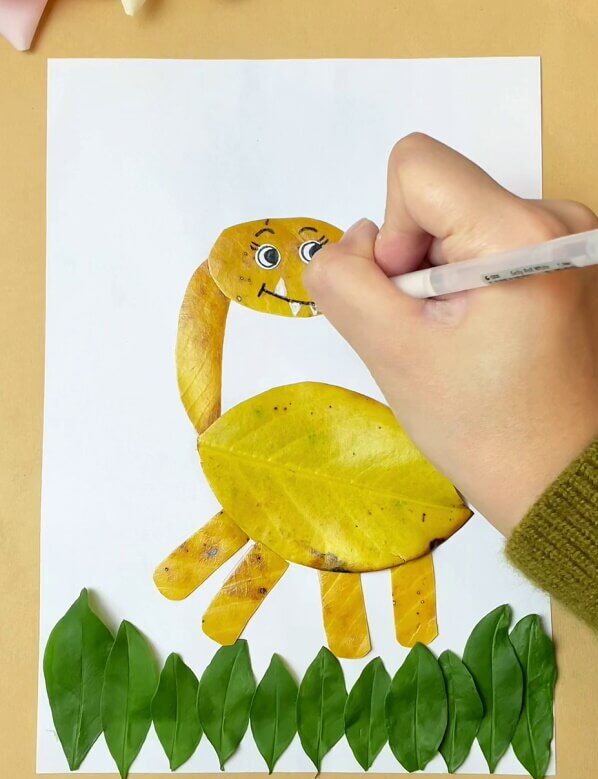
With the dark pen, sketch a cheerful smile, eyelashes, and eyebrows for our dinosaur. Then use the white pen to illustrate its teeth.
Step 8: Adding Dinosaur Scales
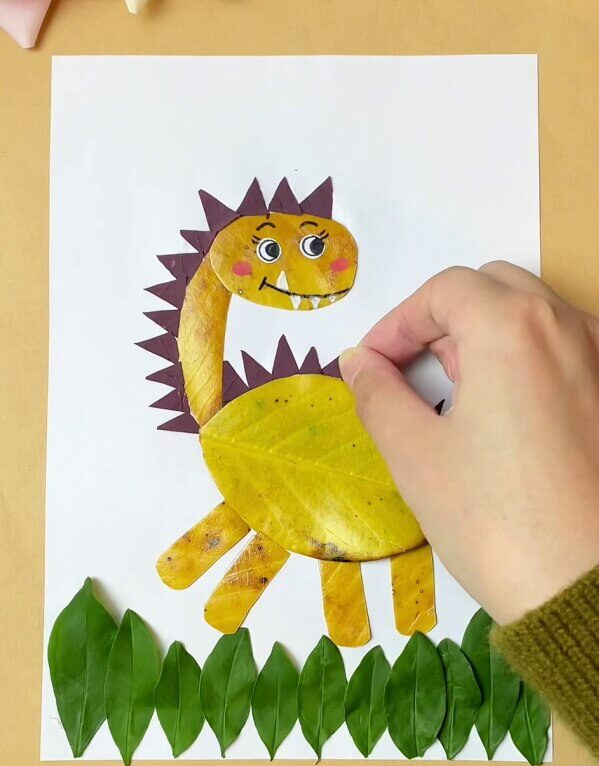
Cut small triangular pieces from purple leaves to create the dinosaur’s scales. Attach these scales along the dinosaur’s neck and body.
Use a pink or red pen to draw circular blushes on the dinosaur’s cheek.
Step 9: Crafting Leaf Clouds
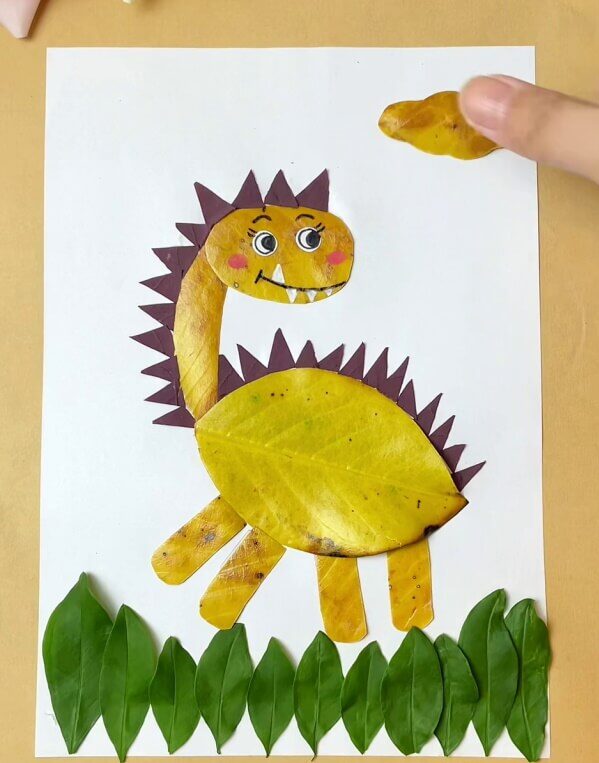
Cut another yellow leaf to resemble clouds. Affix these cloud shapes to the top of the paper, completing our background scene.
Your Creation is Ready!
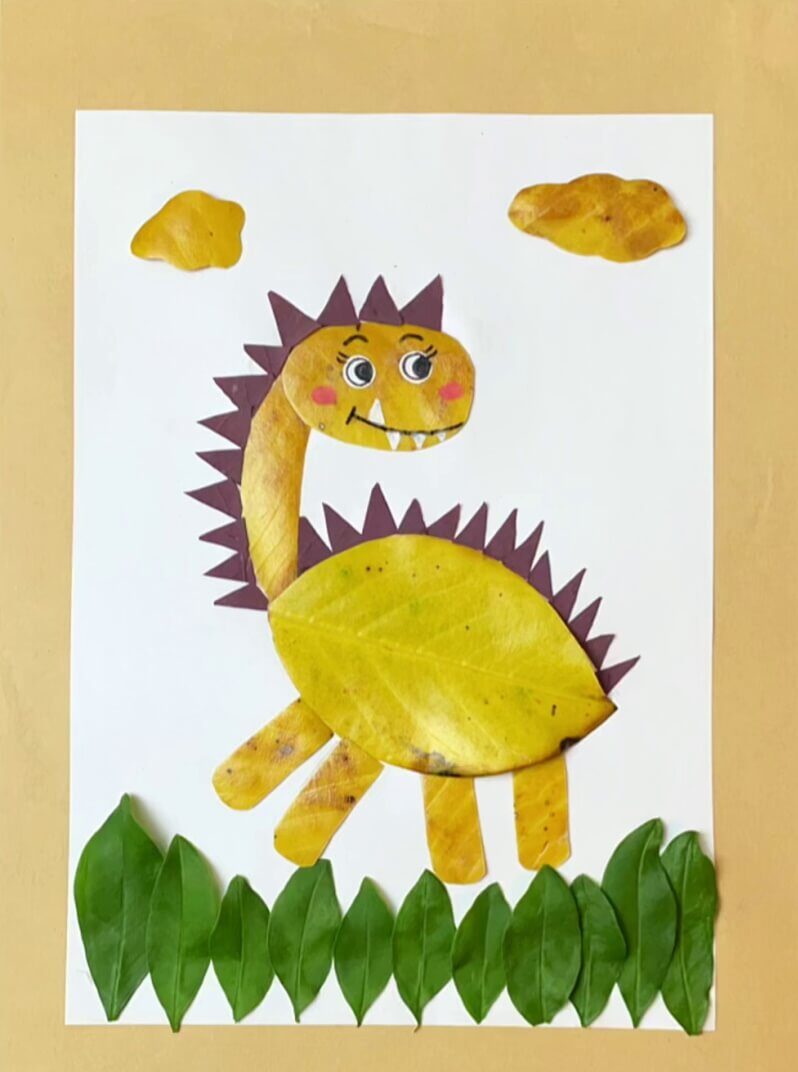
Your adorable leafy dinosaur is now finished! This straightforward, step by step guide will help children understand the appearance of a dinosaur.
This activity also teaches kids to transform natural elements into artistic creations. This distinctive animal craft offers a wonderful educational opportunity for children, presented in a playful way. Why wait? Start making your own do it yourself dinosaur today! Crafting is incredibly simple and enjoyable to learn!
We hope you enjoyed this piece on animal craft, detailing how to construct a do it yourself dinosaur using leaves. Share your thoughts on this article in the comments section below. Please visit this website for more easy and fun craft guides.