
This guide shows you and your kids how to construct delightful clay butterflies and blossoms. Get ready to embark on a creative journey, crafting wonderful art pieces with your little ones!
Welcome to this detailed tutorial on making clay butterflies and flowers. This activity brings so much joy, and it teaches valuable skills for future clay projects, all with just a little effort. You will only need very fundamental supplies, readily available at any art and craft shop. So, let us begin our creative adventure without delay.
What You Will Need
- Blue paper
- Red modelling clay
- Orange modelling clay
- Yellow modelling clay
- Dark and light green modelling clay
- Dark green sketch pen
The Steps to Create
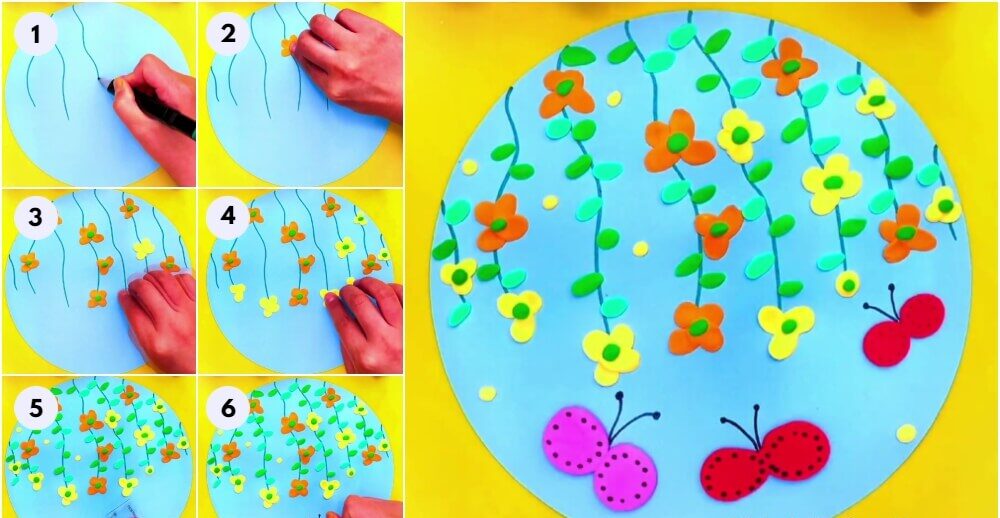
Step 1: Sketching Flower Stems on Blue Paper
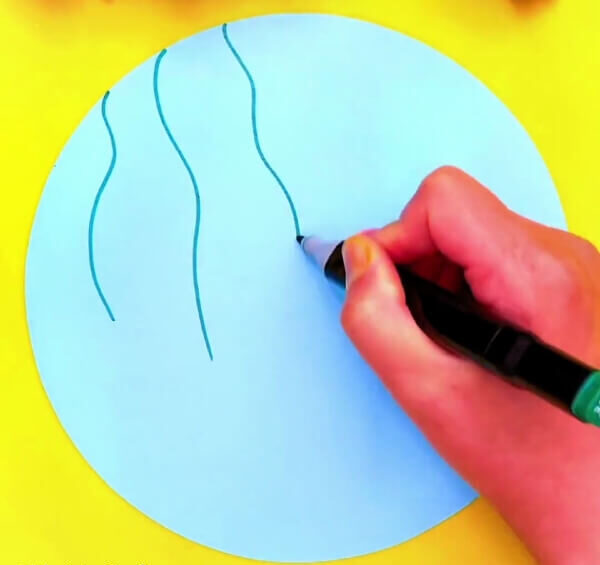
First, grab your blue paper. This will serve as our background for the blooming flowers. Next, begin drawing stems onto the paper. To do this, create wavy lines using a dark green sketch pen, just as the picture illustrates.
Step 2: Forming a Flower with Orange Modelling Clay
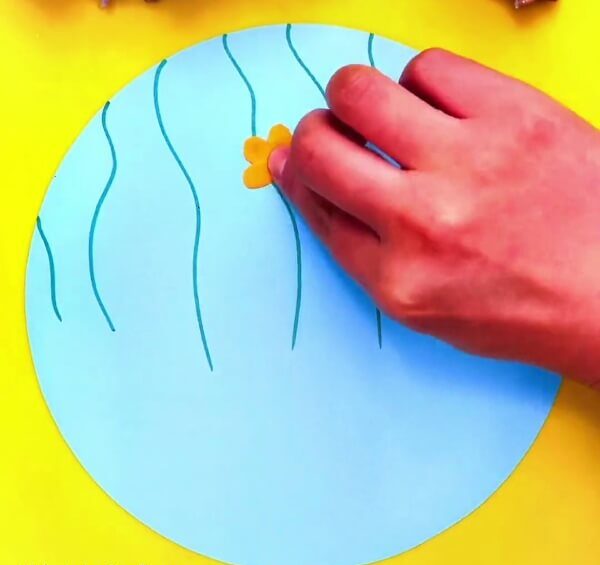
Once the stems are drawn on the paper, it is time to fashion our flowers. For this, take some orange modelling clay, then press it onto the paper with your fingers, shaping it into a flower form, exactly as depicted in the image above.
Step 3: Continuing with Orange and Yellow Clay Blooms
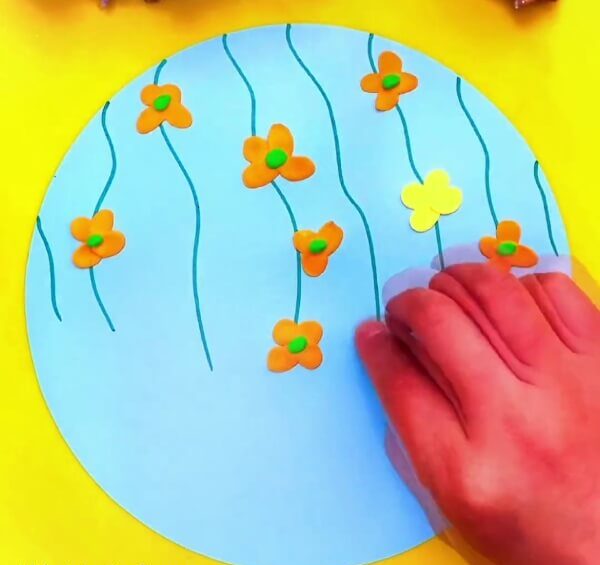
Now, keep constructing flowers by pressing both orange and yellow modelling clay onto the blue paper. Continue molding these with your fingers, just as you see in the photo provided.
Step 4: Shaping the Clay into Flower Petals
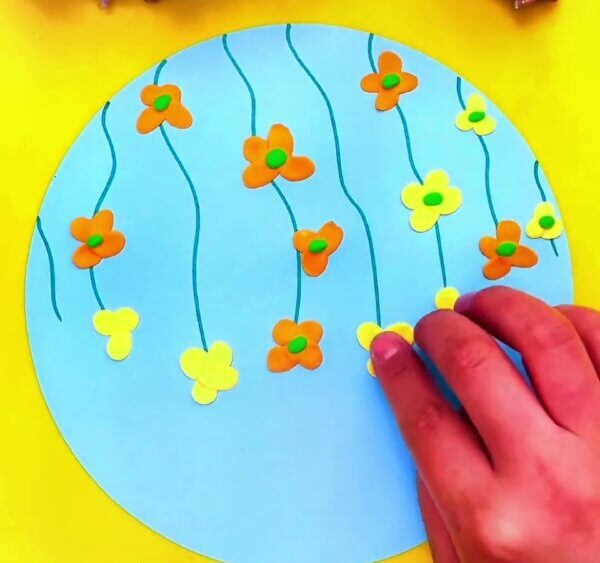
After attaching the clay, continue shaping all the yellow and orange modelling clay with your fingers. Form them into four distinct petals on all sides, as the photo above demonstrates.
Step 5: Adding Leaves with Dark and Light Green Clay
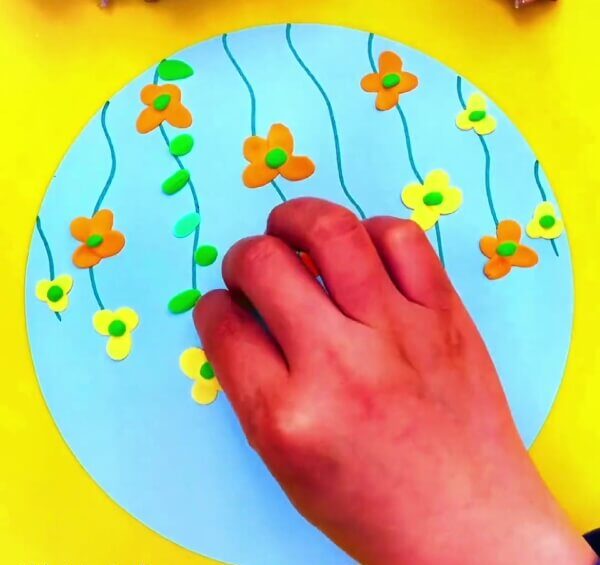
With the flowers now complete, it is time to add leaves to the stems. To achieve this, take both dark and light green modelling clay and shape it into an oval. Then, press it onto the paper and flatten it, as shown in the picture. Repeat this for both dark green and light green clay. Create leaves for each stem, varying some to be small and some large.
Step 6: Making a Butterfly with Red Modelling Clay
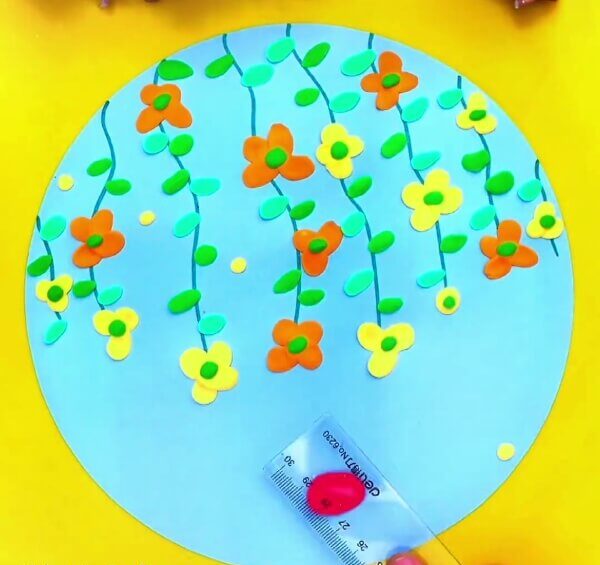
Now that the flowers, leaves, and stems are all finished, it is time to introduce some butterflies. For this, take red modelling clay, press it onto the paper, and then flatten it with a scale, as the photograph illustrates.
Step 7: Crafting the Butterfly’s Other Wing
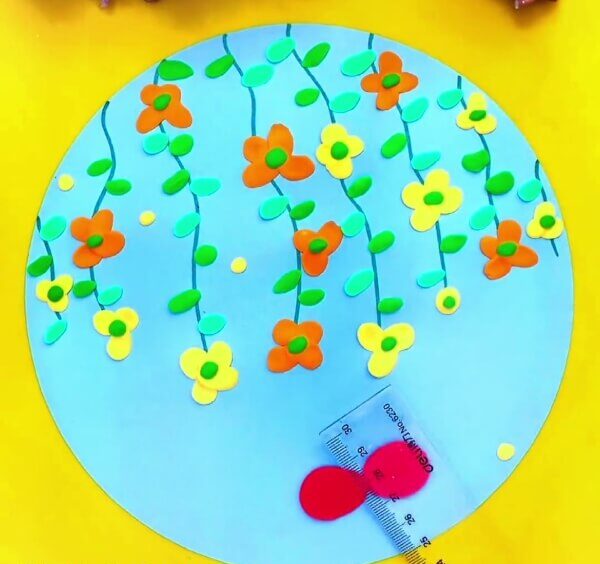
For the second wing, take another ball of clay and press it onto the paper. Then, flatten it with a scale, exactly as shown in the picture above.
Step 8: Adding Butterfly Details with a Black Sketch Pen

After fashioning the butterfly from clay, start adding some fine details using a black sketch pen on the red modelling clay. Begin by making small dots on the clay wings, as shown in the photo provided.
Voila! Your Clay Butterfly and Flower Creations Await
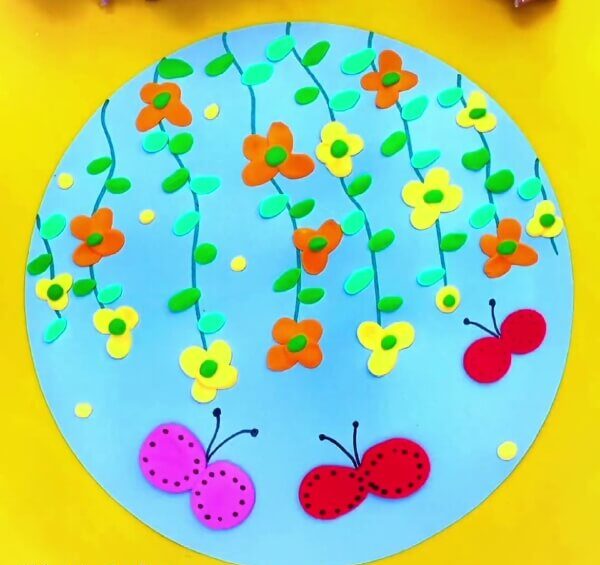
Voila! Your clay butterfly and flower creations are now finished. These flowers appear so wonderfully beautiful and vibrant, and the butterflies truly look lively and full of color. Feel free to customize your craft to your liking, using different shades of clay.
You can experiment with various flower shapes and express your personal creativity. Also, remember to enjoy every moment of the process. Now, try these out and share your thoughts in the comment section below.
This craft mainly requires finger work, which is quite simple and improves with a little practice. Feel free to share how much you enjoyed making them and how helpful you found this guide. Your comments are greatly appreciated.