
Hello, everyone! Do your children show real excitement for creating art? If so, this guide is precisely what you need. Here, this guide teaches you how to make an adorable elephant drawing with your hand. This phased guide is suitable for absolutely anyone, especially for little ones. Easily complete this illustration with clear, simple directions. Let us begin!
Required Supplies
- White paper
- Pencil
- Sketch pens (Black, Gray, Red, Pink and Green)
- Blue marker
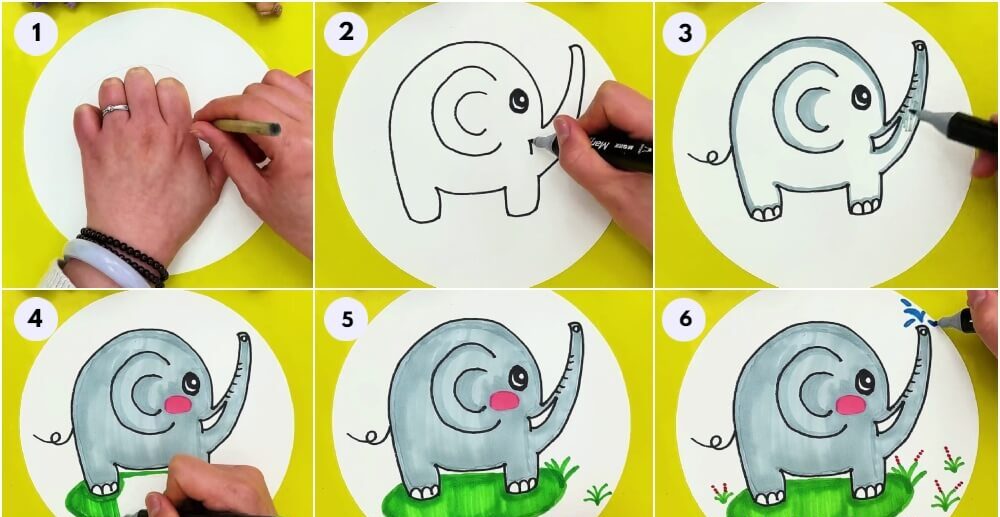
Instructions
Step 1: Sketching the Elephant’s Outer Shape with a Pencil
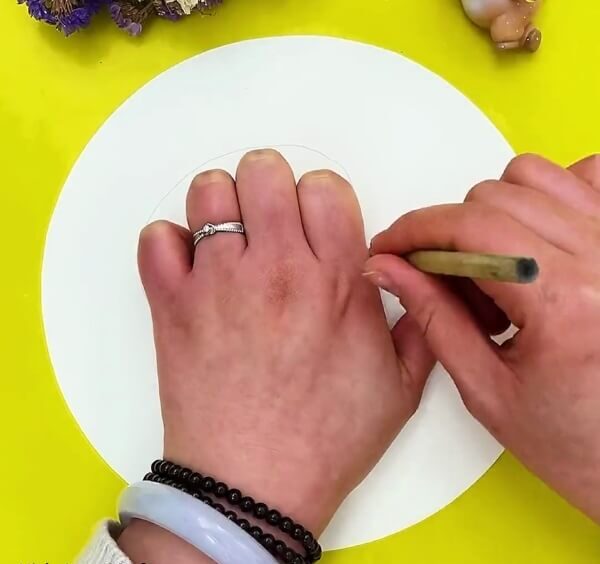
Place your left palm flat upon the white paper. Keep your four fingers together and your thumb extended straight. Then, using a pencil, trace the outline of your hand down to your wrist onto the white sheet.
Step 2: Defining Your Sketch Using a Black Marker
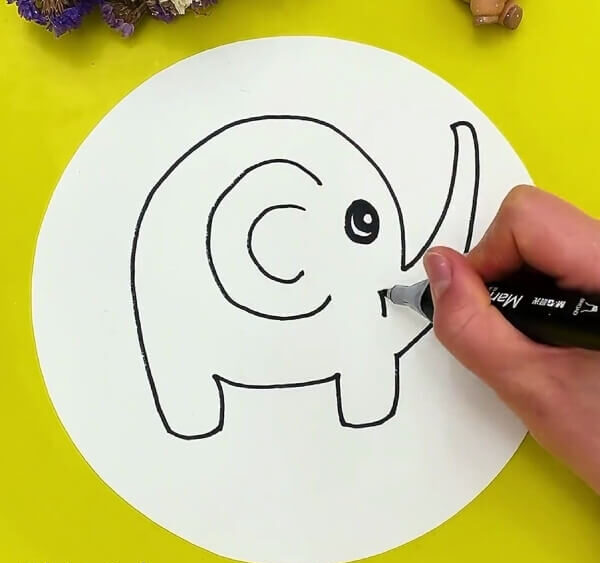
After outlining with the graphite tool, emphasize it with a dark marker and illustrate two legs, as pictured. Form a large “C” near the elephant’s middle, then place a smaller “C” within that initial shape to craft the ear. Depict a small eye on the elephant’s right side, next to the ear, as shown in the example.
Step 3: Illustrating the Elephant’s Tail and Toenails
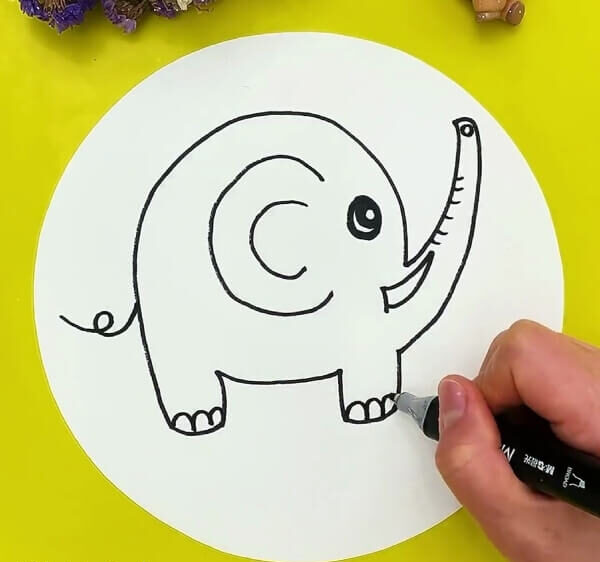
Next, draw the tusks, which are the elephant’s teeth, below the creature’s eye, and also add nails onto each foot. Draw a tiny, coiled, wavy line on the left side, then several very small lines upon the trunk, completing it with a tiny circle at its tip.
Step 4: Adding Color to the Elephant with a Gray Marker
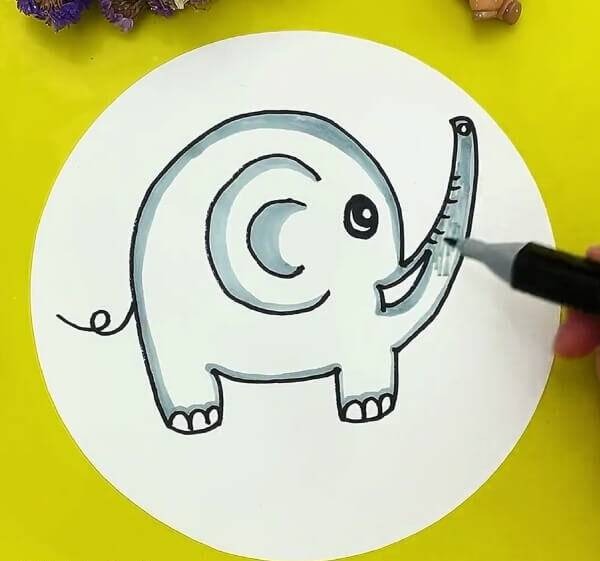
Now it is time for adding color. First, entirely fill the elephant’s trunk with a gray marker. Then, color dark lines around the elephant’s body and inside its ear.
Step 5: Highlighting the Cheek with a Pink Marker
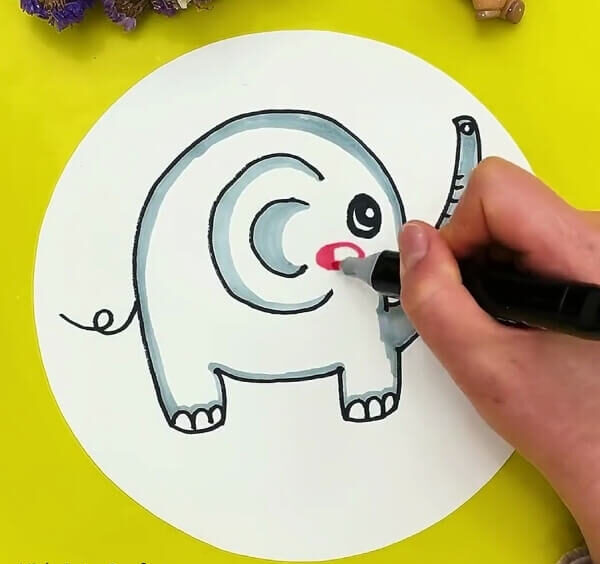
Draw a modest pink oval on the elephant’s cheek using a pink marker.
Step 6: Drawing the Green Ground Using a Green Marker
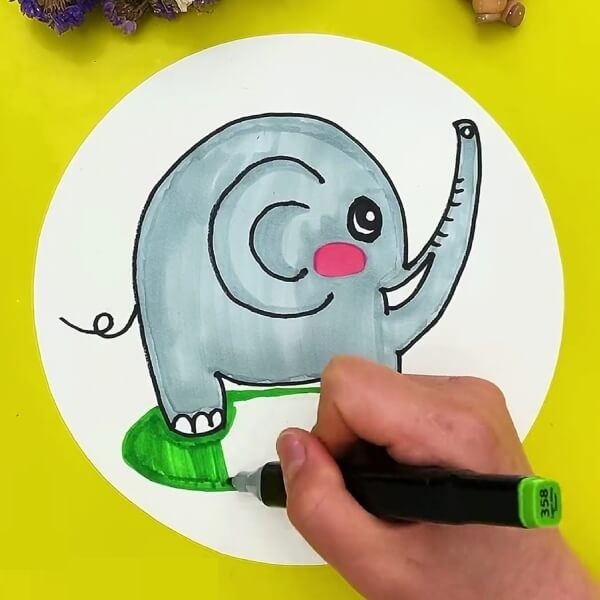
Color the entire elephant grey, leaving the nails and tusks untouched. Then, draw a large oval beneath the elephant with a green marker, and fill it in with green, as depicted in the illustration.
Step 7: Adding Small Green Plants with a Green Marker
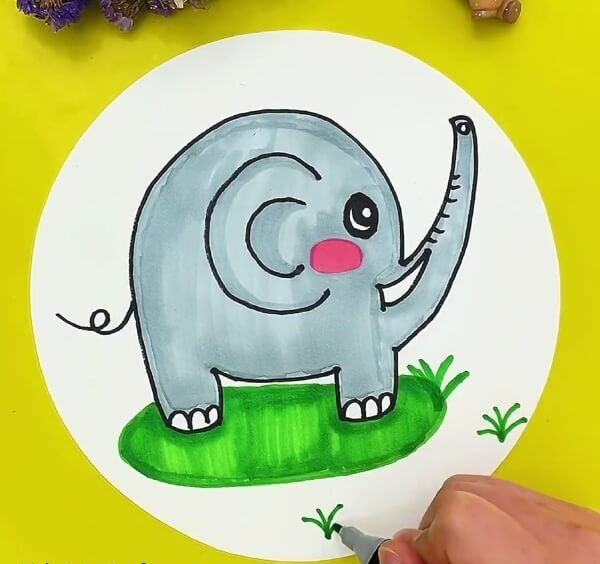
Again, utilizing a green marker, draw small plants surrounding the elephant. Form four to five small curved lines from a single point to represent each plant.
Step 8: Placing Tiny Dots Above the Plants to Create Flowers
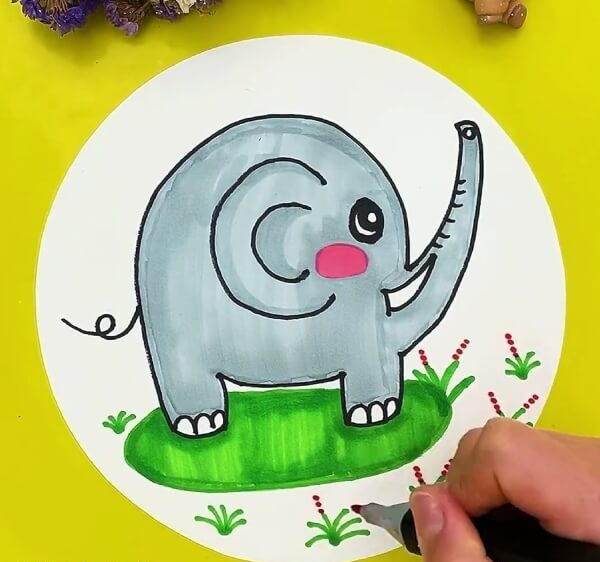
Add three to four dots on every two leaves of the plants with a red marker.
Behold, the Charming Elephant Drawing is Now Finished!
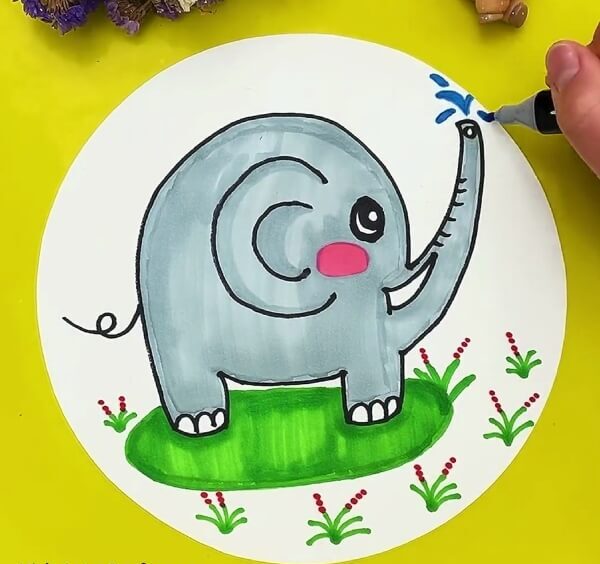
Draw blue water droplets at the end of the elephant’s trunk using a blue marker, as illustrated. Your elephant sketch is now complete. This creative project is simple to make, allowing anyone to finish it quickly.
This step-by-step guide will prove helpful to you. Share your thoughts regarding this tutorial in the comment section, and for additional arts and crafts like this, explore this website.